
Drupal CMS is a ready-to-use platform for marketing teams, content creators/designers and site builders built on the latest version of Drupal Core, 11.
When you install Drupal CMS, you instantly get a completely free set of out-of-the-box tools such as advanced media management, SEO tools, AI-driven website building, consent management, analytics, filtered search, automatic updates and many more.
Read along for a walk-through of the steps required to install and test your own Content Management System in a matter of minutes.
Drupal 11: A bouquet of rapidly evolving initiatives
In the last couple of years, Drupal has evolved beyond any expectation, with new initiatives and teams of extremely talented people that strive to deliver the most complete and modern Content Management System. For that purpose, the new Drupal website was recently launched with up-to-date documentation, clear presentation and instructions on how to install, deploy and test the latest version of Drupal.
It's important to understand that there are now a few different ways of setting up Drupal. The terminology used on the Drupal web pages referenced throughout our guide below implies a distinction between "Drupal CMS" and "Drupal Core" but keep in mind that, sometimes, these terms, most of the time and from a marketing perspective, mean more or less one thing; a Drupal website or a local Drupal installation. To be more exact, Drupal Core is part of every Drupal CMS website. The former is the code foundation that powers every Drupal website and the latter is the full Drupal website including the Core, the back office and the front-end.
1. Drupal CMS: For marketers and site builders
No advanced skills required for this method; it's ideal for most projects. Drupal CMS puts the power of Drupal into the hands of marketers, web designers and content creators.
Drupal CMS comes with a free trial which you can test in two different ways as shown on the official trial page:

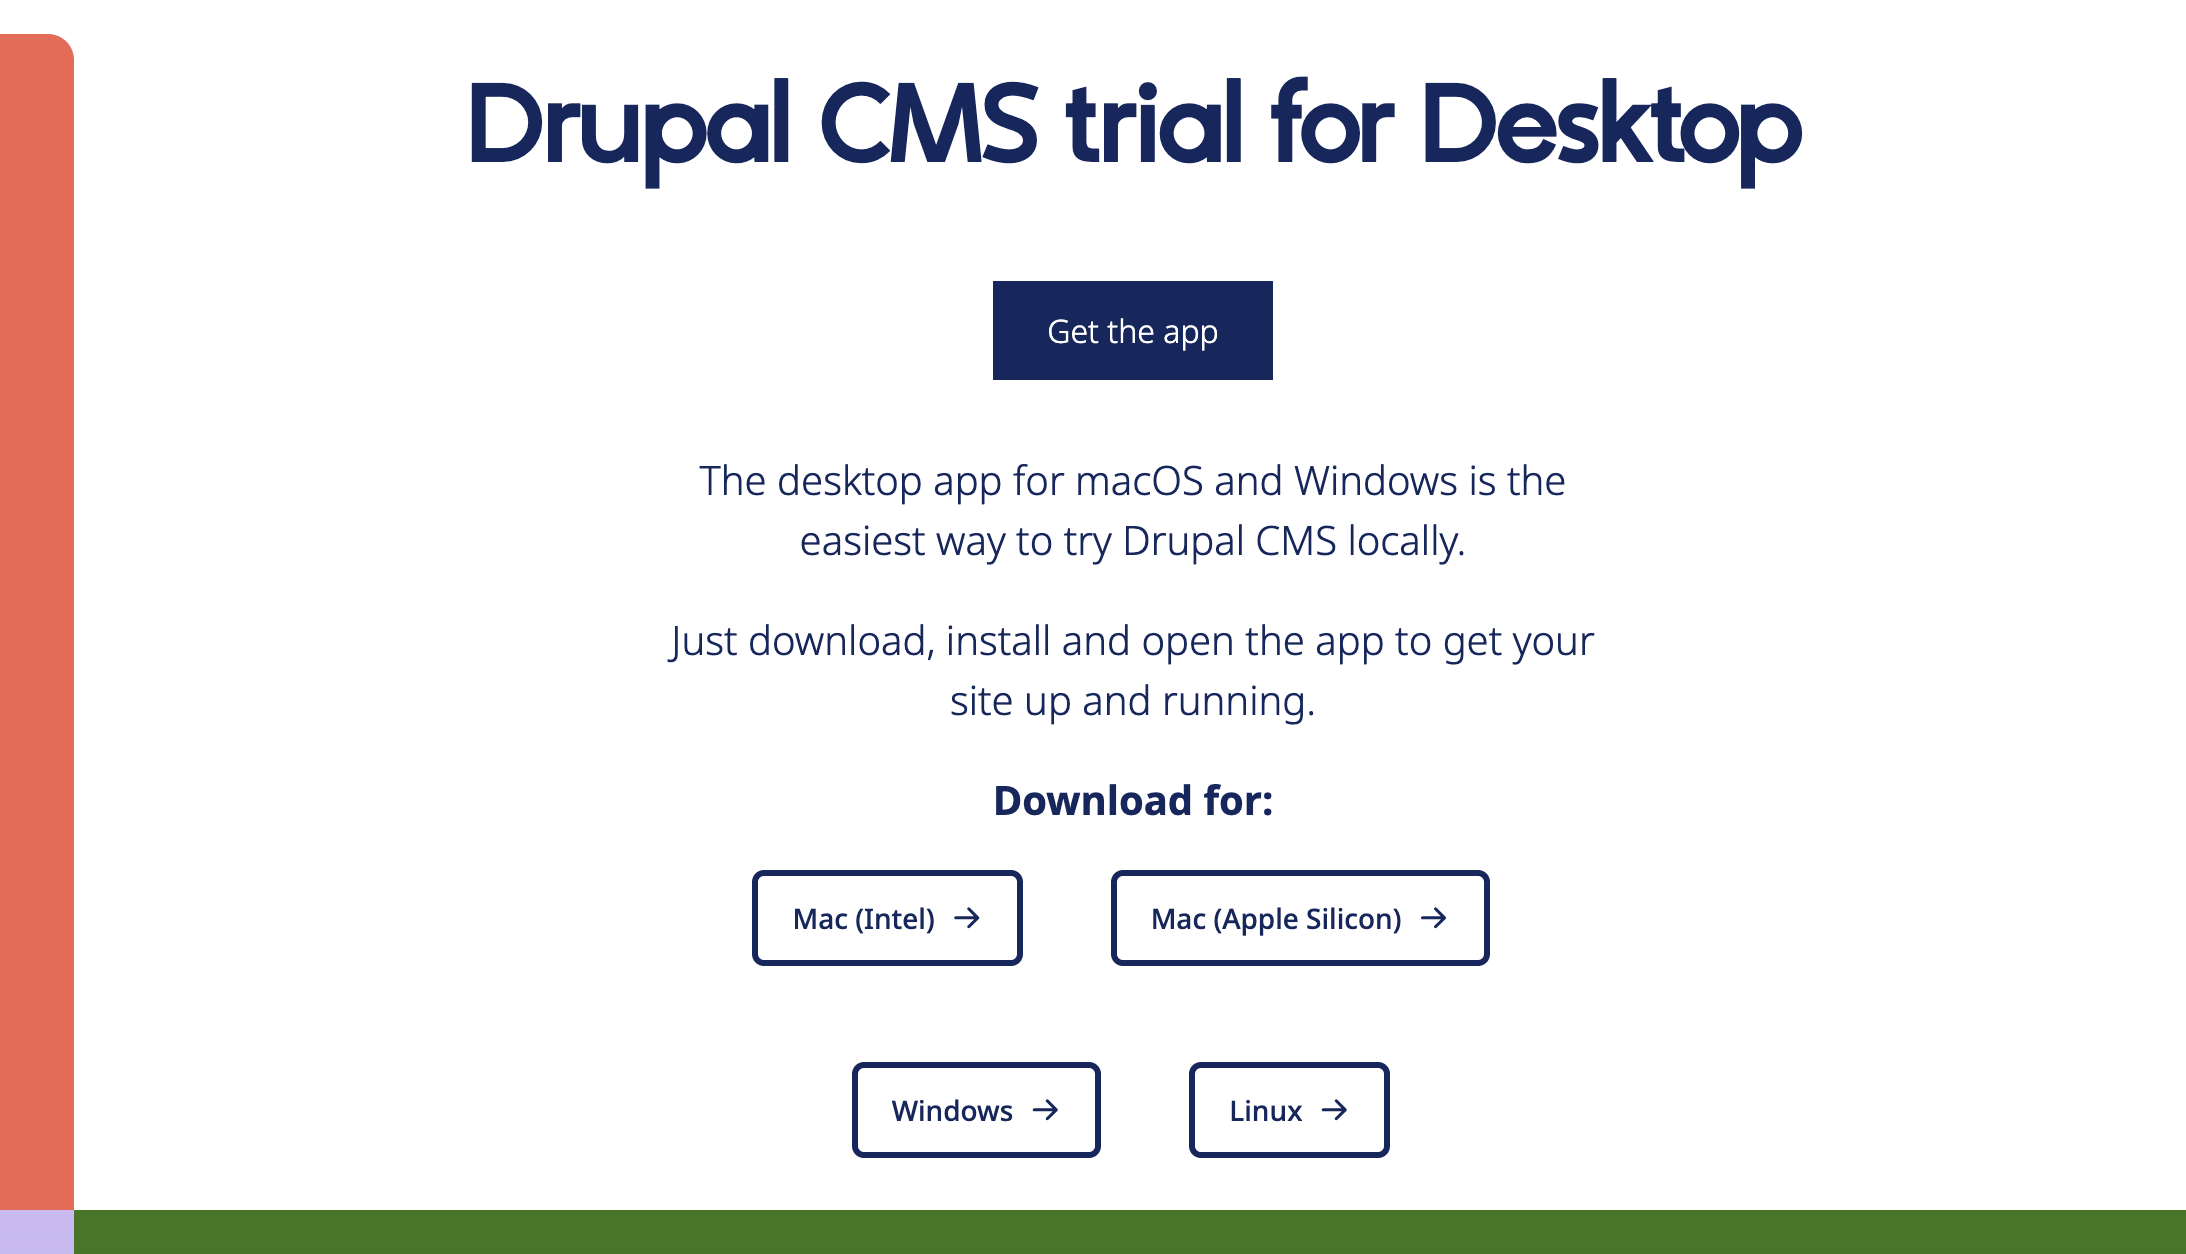
1.1. Drupal CMS free trial: Desktop App
You can try Drupal on the desktop with no extra software required. The Drupal CMS Launcher makes trying Drupal easier than ever. You can follow the "Download the DrupalCMS Launcher" link on the page above; On the landing page, https://new.drupal.org/drupal-cms/launcher you'll find details instructions on how to install Drupal in a self-contained application on your computer. Instructions and installation apps are available for Mac OS (Intel or Silicon), Windows and Linux:
After downloading the appropriate version of the Drupal CMS installer for your Operating System and copy it into your Apps folder:
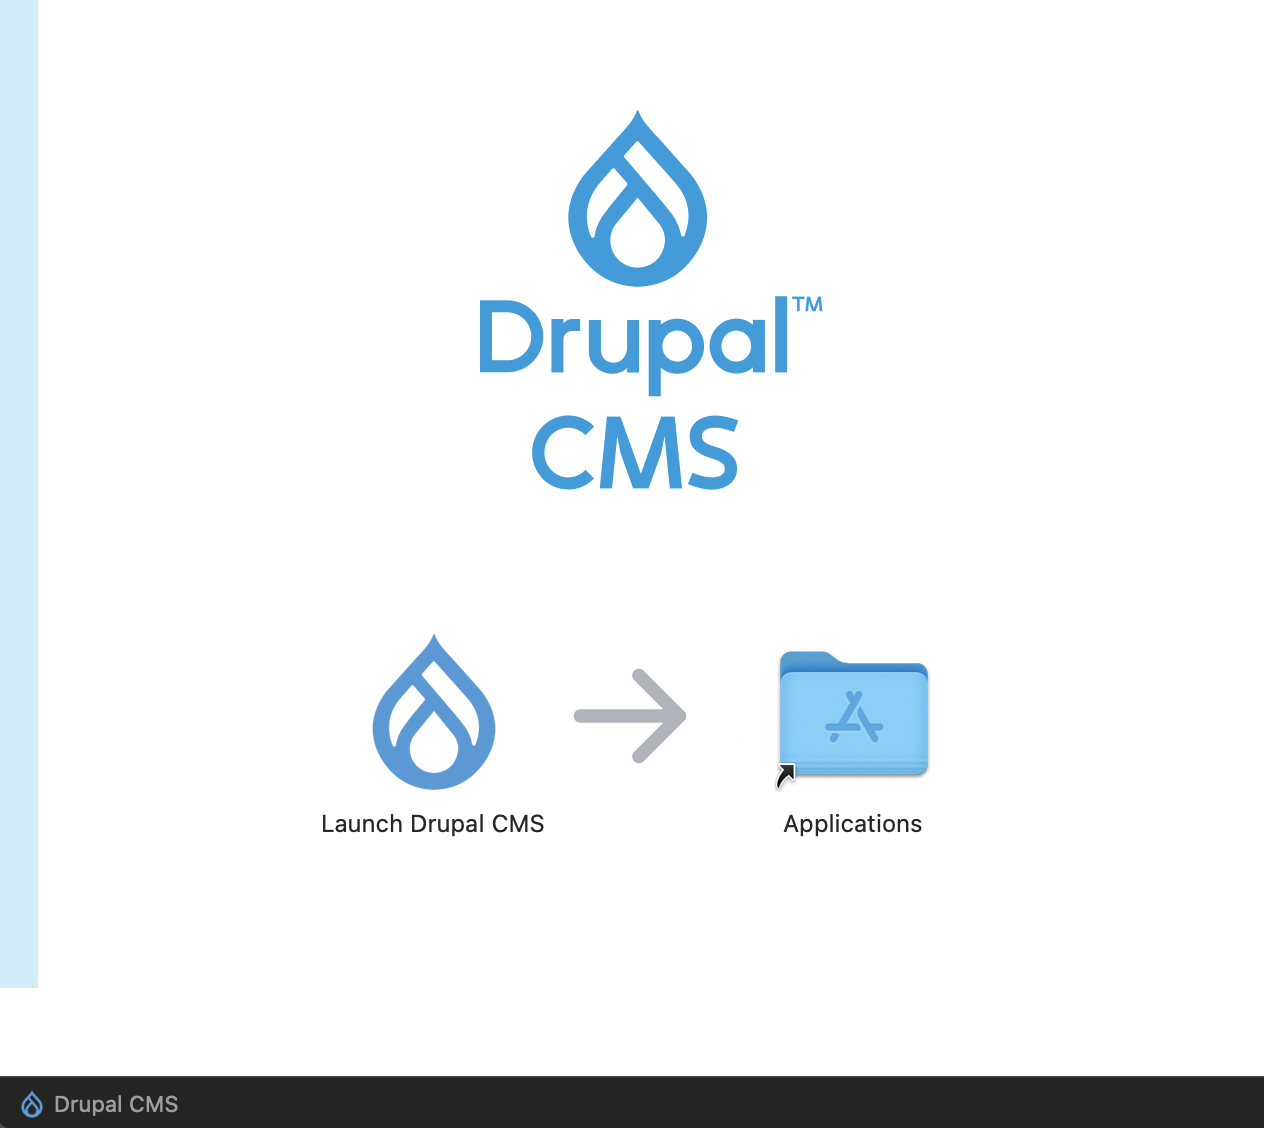
...you can then open the desktop app which will trigger the installation script:
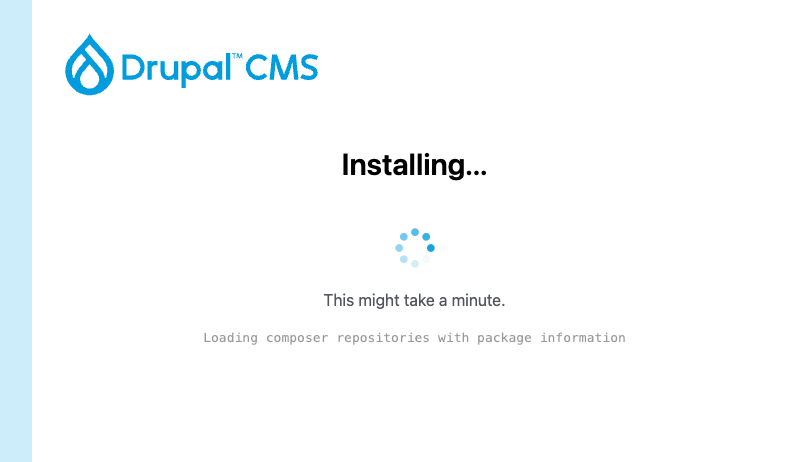
When the installation sequence is complete, you'll be presented with a link to your local copy of Drupal CMS (see the following chapters for how the initial screen should look like):
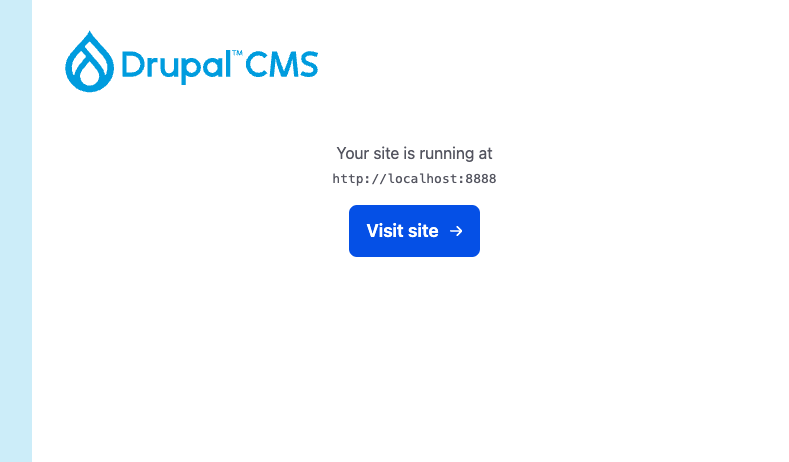
You can now also access the site files in the the drupal folder located in Documents (or elsewhere, depending on your OS). If you quit the app, your site will be paused but any changes you make will still be saved. You can access it again by re-opening the app. To reset the Drupal CMS install, quit the app, delete the drupal folder and restart the app; this will install Drupal CMS fresh again.
1.2. Drupal CMS free trial: On the Cloud
On the same Drupal CMS trial page, https://new.drupal.org/drupal-cms/trial you'll find a short webform which, after you fill in with your details, allows you to test a freshly-installed, cloud-hosted Drupal CMS website. The link provided after you submit the webform leads to a Drupal CMS installation screen on a dedicated URL that looks like the following:
You can select the options more relevant to you and complete the installation; then you'll have 4 hours to experience a brand-new Drupal 11 website with its complete back office and a myriad of features.
We won't go through the whole process as this is something you can try out yourselves really easily. Also, we'll go through a very similar process while installing Drupal CMS locally (see below for a walkthrough on this process).
2. Drupal for developers and advanced users
2.1. Easy-to-install Drupal profiles, instantly available on the web
On the homepage of the New Drupal CMS website, https://new.drupal.org/home, you'll also find the "Try Drupal core" link which leads to https://new.drupal.org/try-hosting page:
Here, you can find additional links to hosting providers. These links will allow you to register on these platforms and purchase a hosting package for a new Drupal website. These vendors provide Drupal CMS installation profiles which give you the ability to spin up the latest version of Drupal on a brand new hosting account. This means that, in a few clicks and without having to write any code, you can get your own hosting account and environment with a new Drupal website that is publicly accessible and open for business.
Although this section refers to "Drupal Core", the installation profiles actually install Drupal CMS i.e. a fully functional Drupal CMS website (naturally including its Core too).
2.2. Installing Drupal 11 locally: Walkthrough process
This is the most elaborate part of our tutorial but fear not! The process is still straightforward, though it requires running a few commands on the Terminal. On https://new.drupal.org/download we can find the available Drupal packages for download and on https://new.drupal.org/docs/drupal-cms/get-started we can find detailed instructions on installing Drupal locally.
Following the "Install Drupal CMS locally with DDEV" link lands us on https://new.drupal.org/docs/drupal-cms/get-started/install-drupal-cms/install-drupal-cms-locally-with-ddev with the following intro:
Let’s get started by creating a sandbox on your computer. Instead of jumping straight into building online, you’ll create a local space on your computer where you can experiment, make mistakes (it’s okay, we all do!), and discover how Drupal CMS works–no pressure!
In this tutorial, we’ll walk through how to set up this space using DDEV, a tool that makes it possible to build out your site at your own pace. It will help you get your Drupal CMS workspace up and running without you needing to know all of the technical details.
If you’re ready to move beyond evaluating Drupal CMS and want a solution that will allow you to start building a real site, keep reading.
Or, if you want to explore Drupal CMS in a browser, and are not worried about losing any of the work you do, go to Try out Drupal CMS and come back when you’re ready to start customizing your site.
Here's the step-by-step process of installing Drupal locally:
Step #1: Install DDEV
DDEV is a tool that allows for creating a virtual local server on any computer, making local development quick and smooth without having to bring in all the frameworks, languages and dependencies separately one-by-one. To install DDEV, you can either follow our previous tutorial that describes this process or by visiting the official DDEV documentation pages.
Step #2: Download & set up Drupal CMS locally with DDEV
After you install DDEV on your computer, run the following commands on your Terminal:
mkdir orion-drupal-site && cd orion-drupal-siteThese commands create a new folder named orion-drupal-site and also moves us into that folder (the cd part of the command) to continue with the Drupal installation.
Then, run the following:
ddev config --project-type=drupal11 --docroot=web
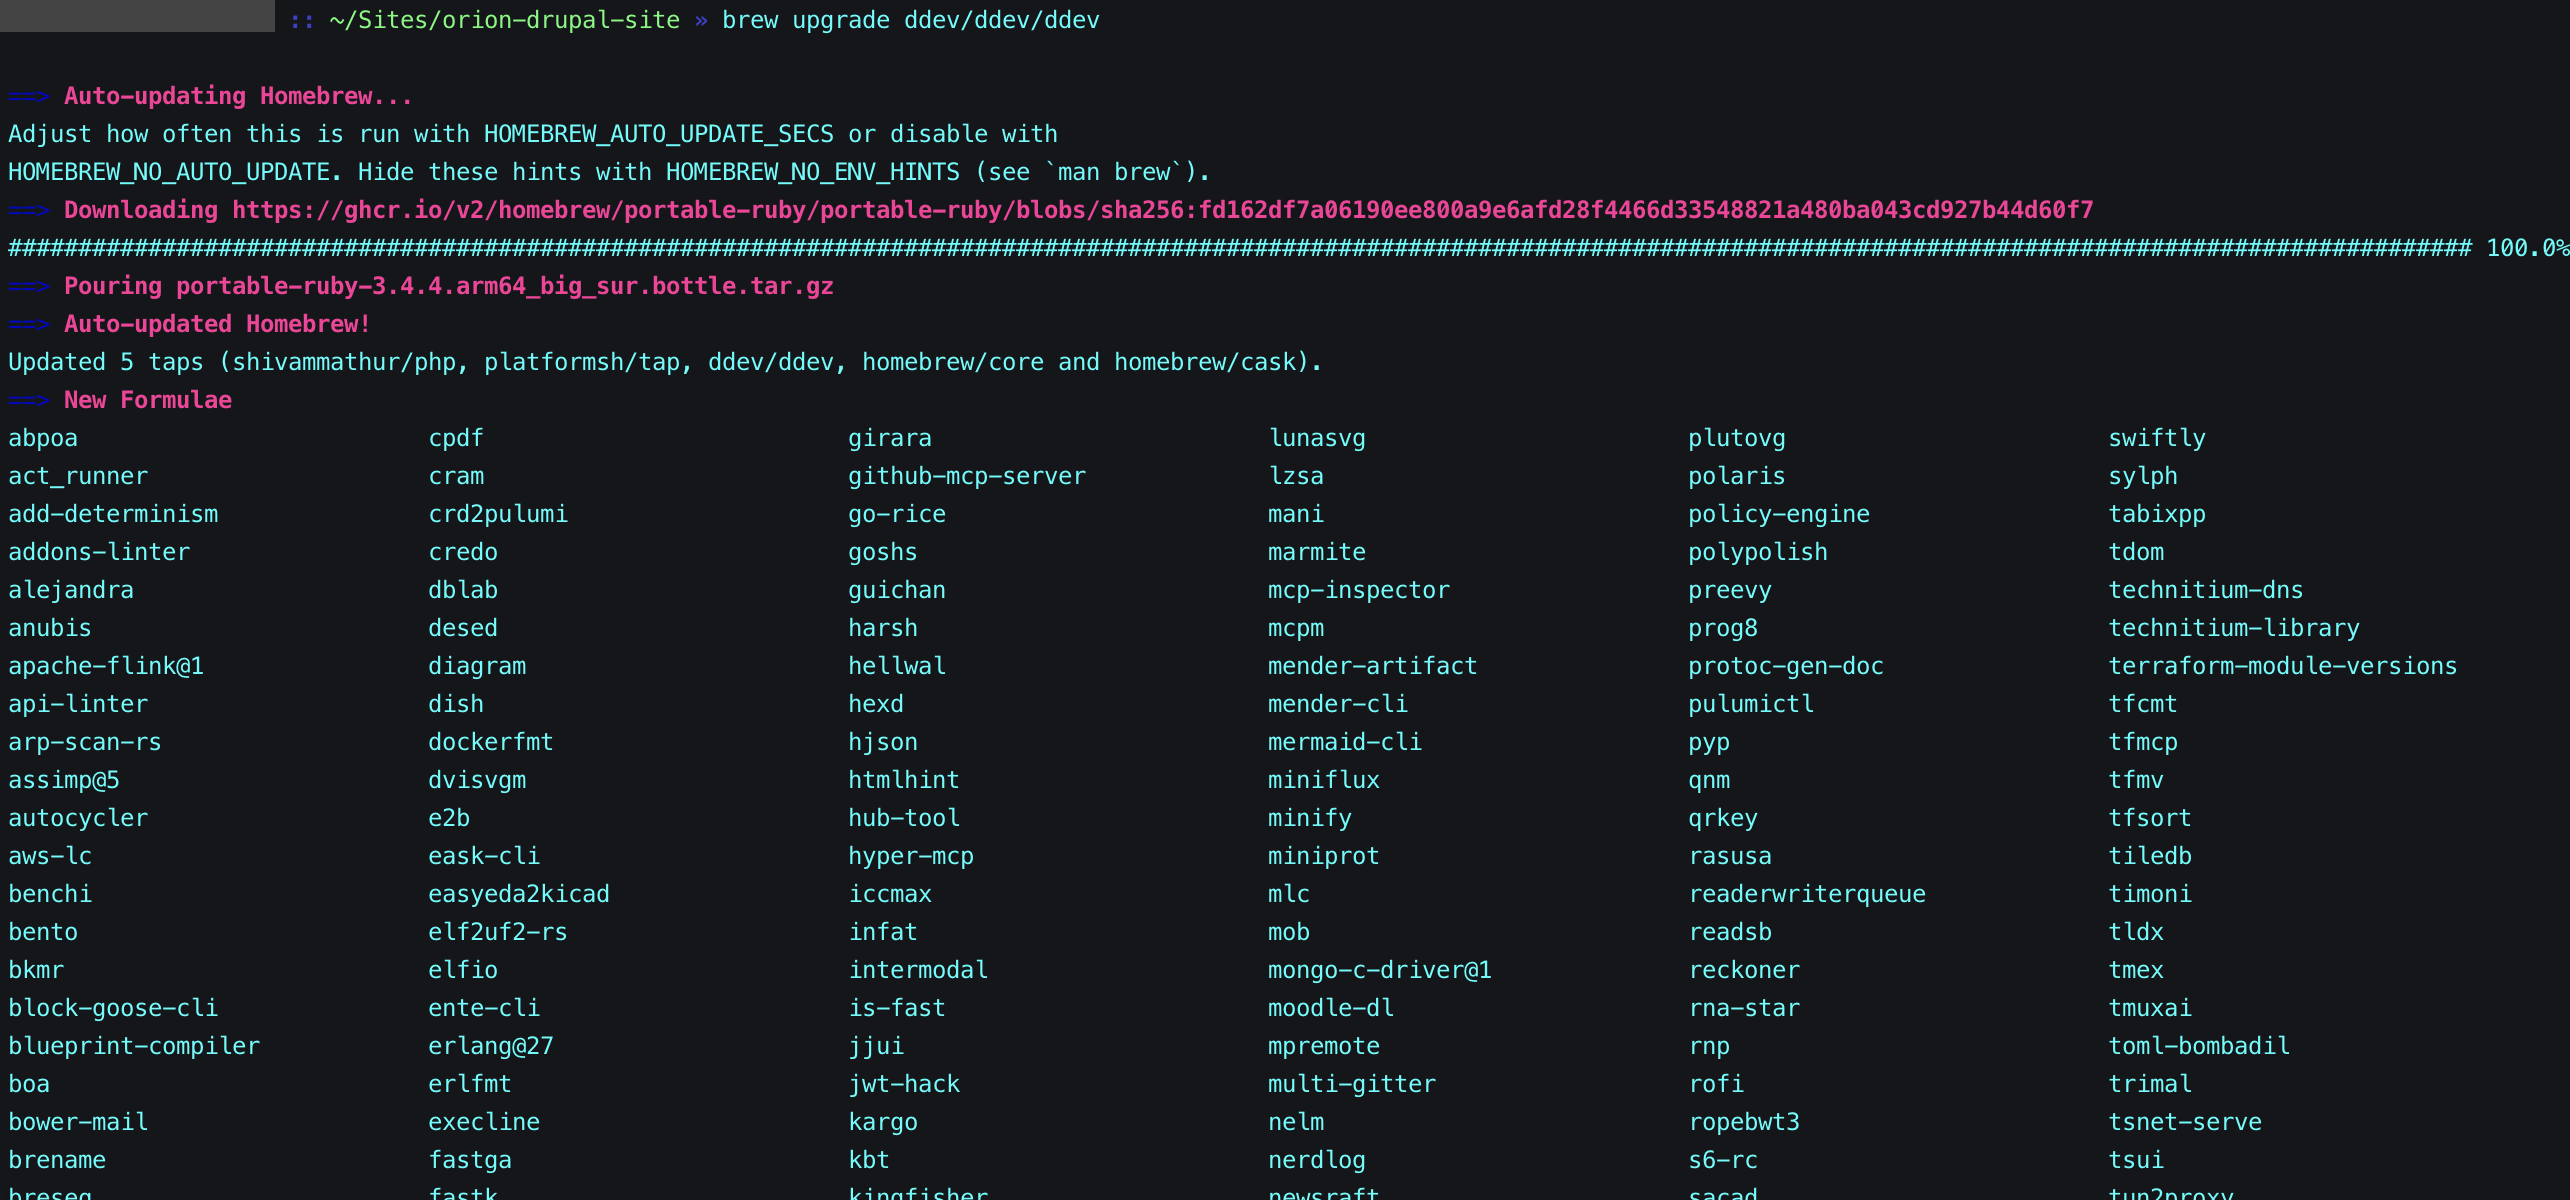
When we ran both the above commands, we got a complaint from DDEV regarding the type of project. At the time of writing this tutorial, the computer used had an earlier version of DDEV so we simply needed to upgrade DDEV by running:
brew upgrade ddev/ddev/ddevwith the output below:
Following the completion of the DDEV upgrade process, rerunning the second command:
ddev config --project-type=drupal11 --docroot=webcompleted the initialisation of our Drupal project successfully:

Following with the command:
ddev startWe load up our new DDEV project and create all the components required in our "virtual" local server:
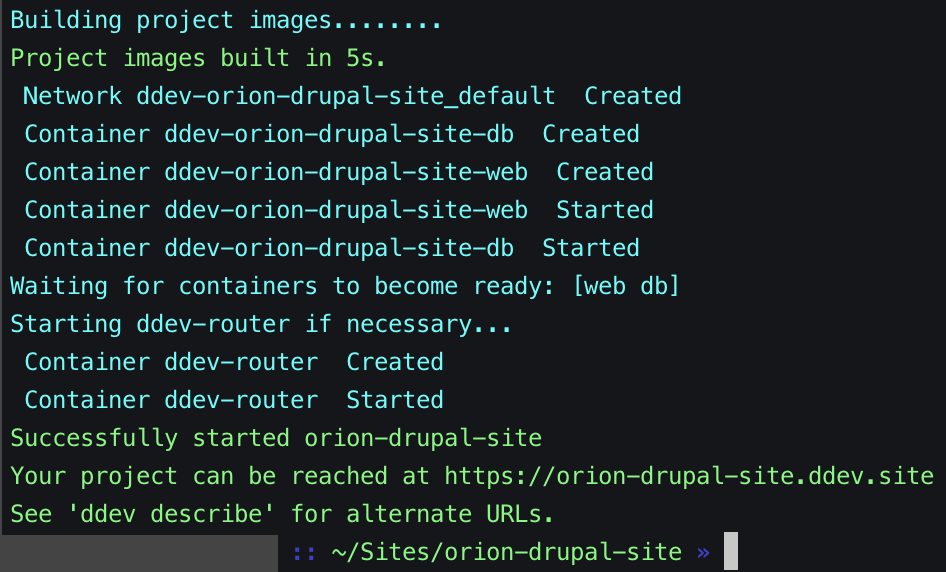
The screenshot above only shows the last lines of the full output the ddev start command generates. The process is actually a bit longer than that and can take a couple of minutes.
The last command to complete the installation locally is:
ddev composer create-project drupal/cmsTo run this command, you don't need to have Composer installed on your system as DDEV comes with Composer itself.
This will ensure that all the dependencies of the Drupal CMS website are downloaded and complied locally.
Step #3: Access your new local Drupal CMS website
By now, your new Drupal CMS should be successfully installed locally. To access it and complete the installation you can either copy the URL displayed at the end of the ddev start command output or run the following command to load the website on a new browser tab:
ddev launchIn our case, the URL is https://orion-drupal-site.ddev.site/ but it could be different for you if you used a different folder name. When the page loads it should look like the following:
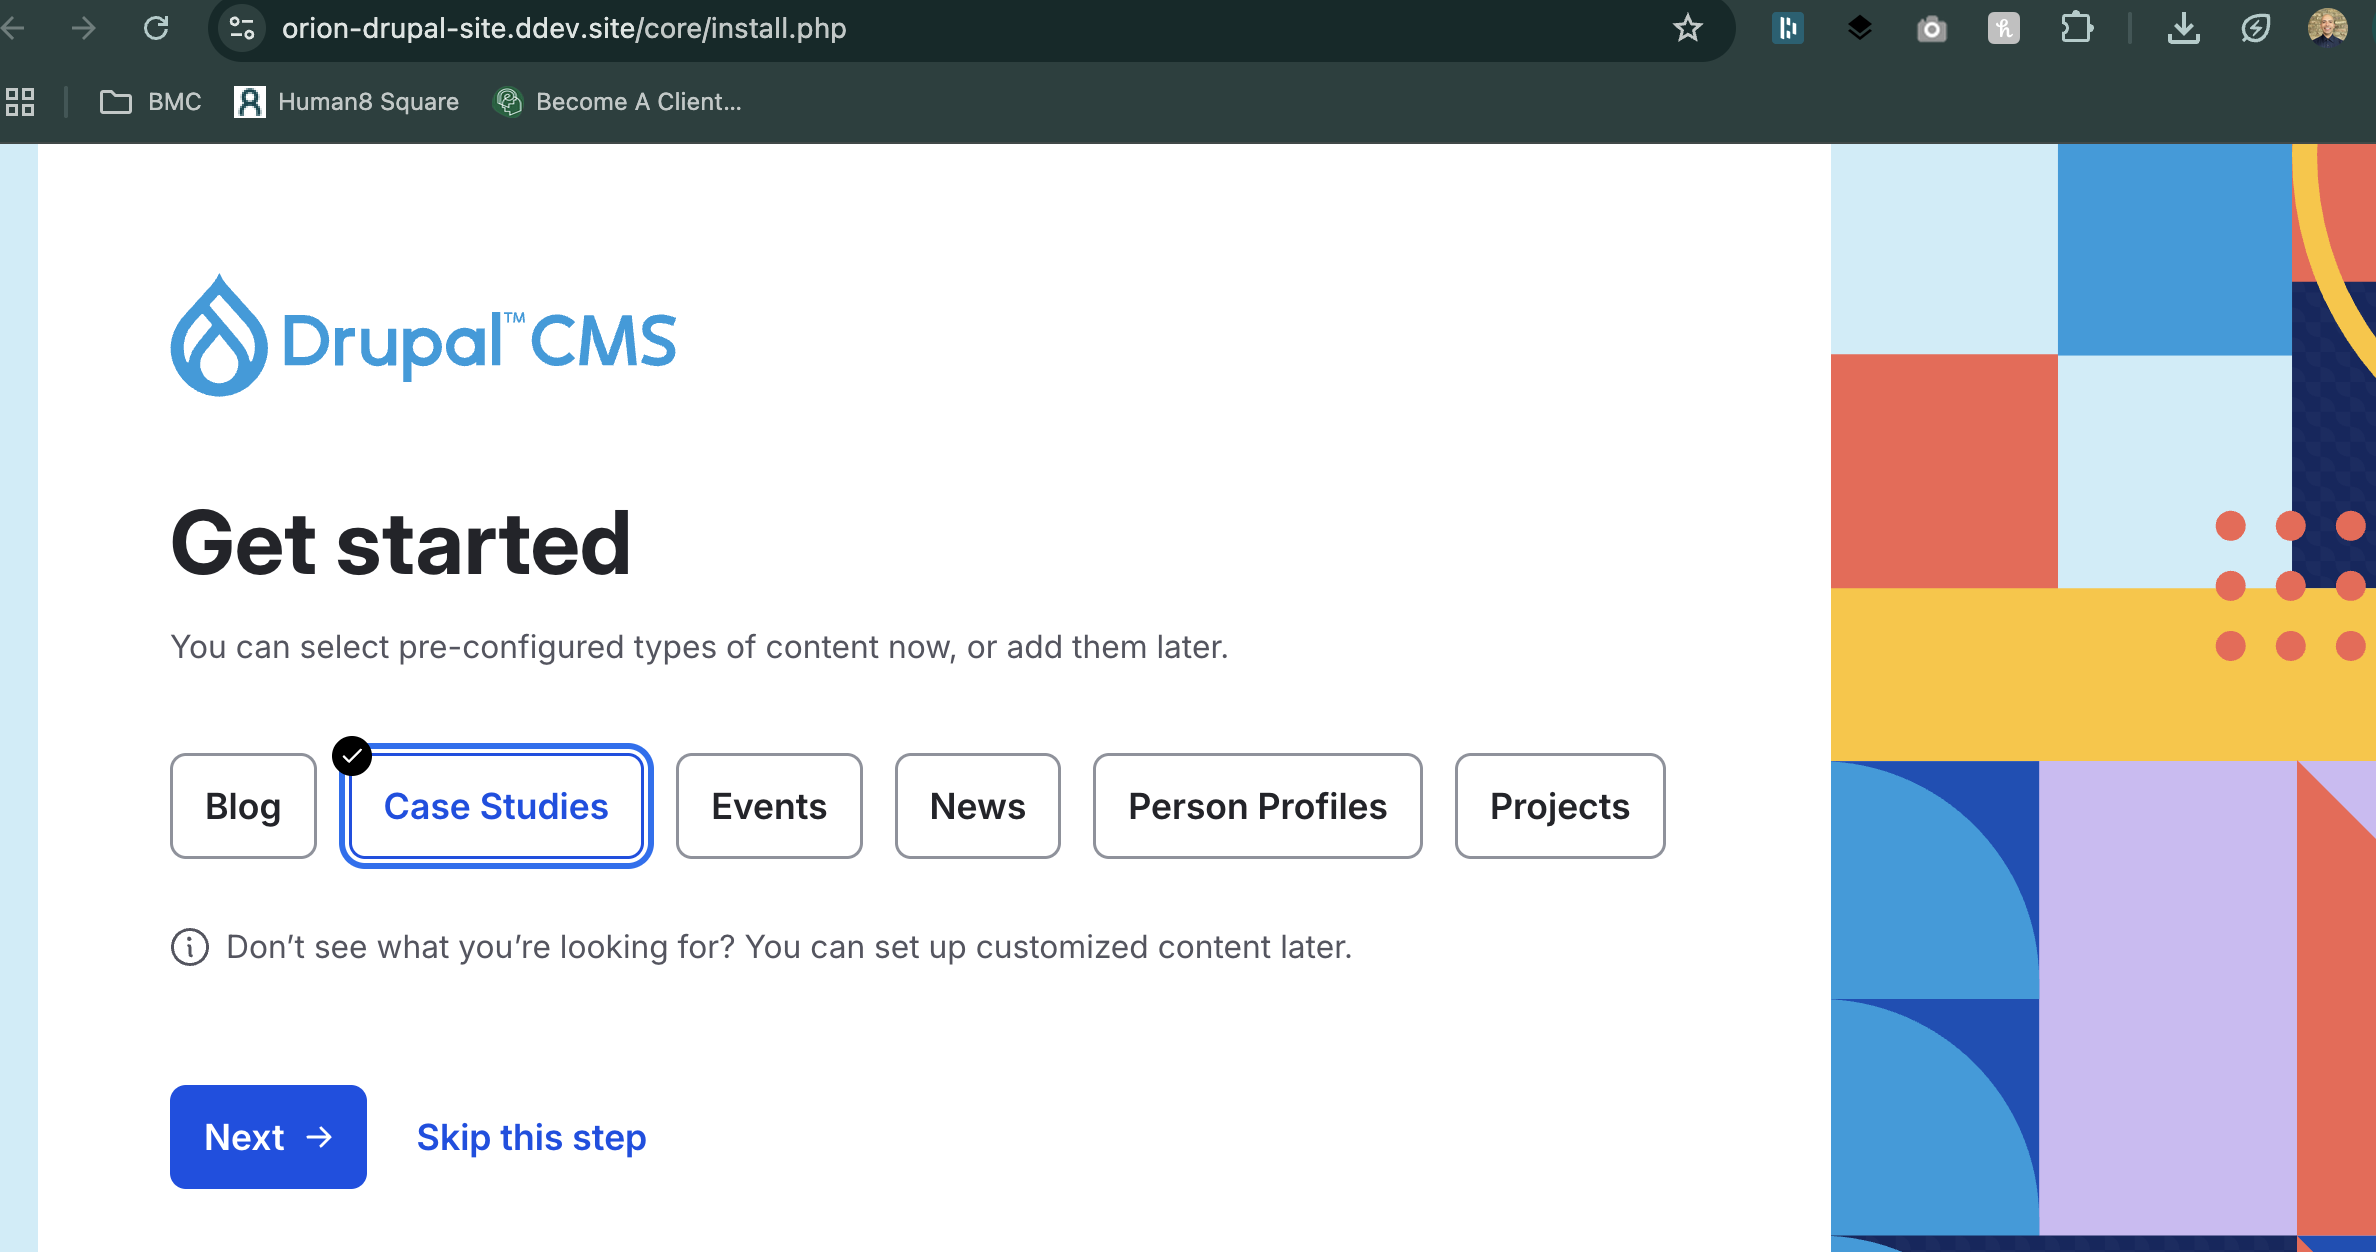
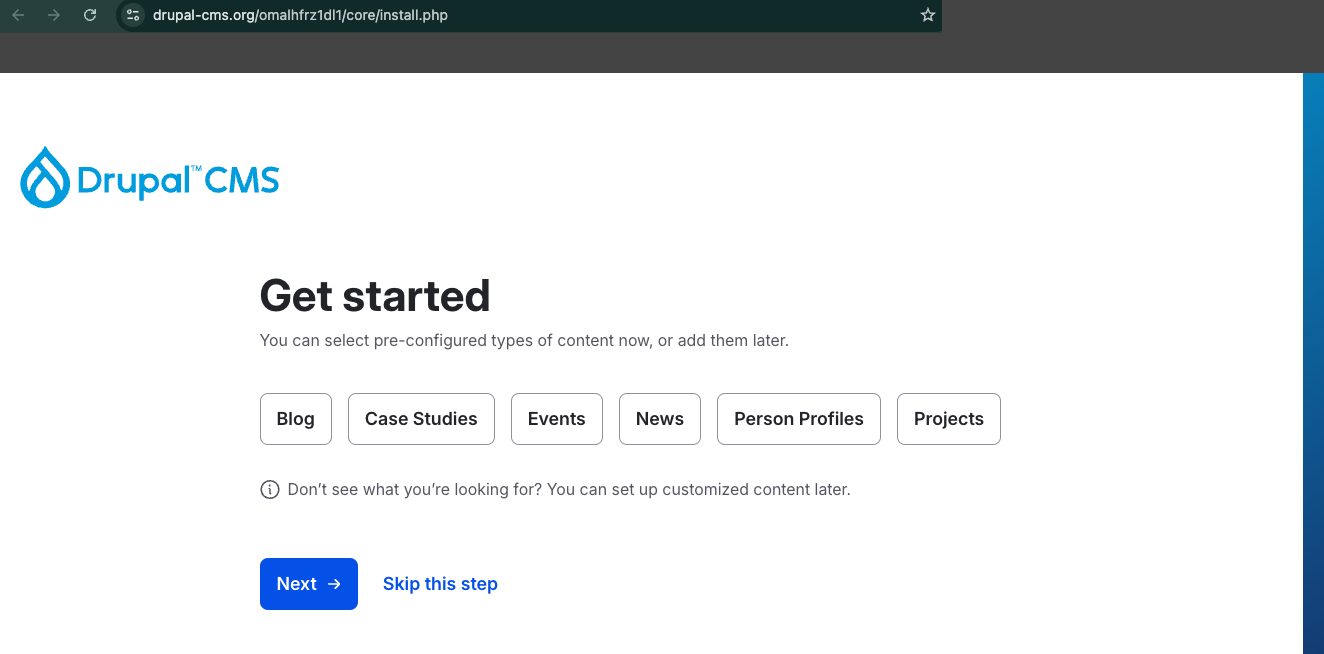
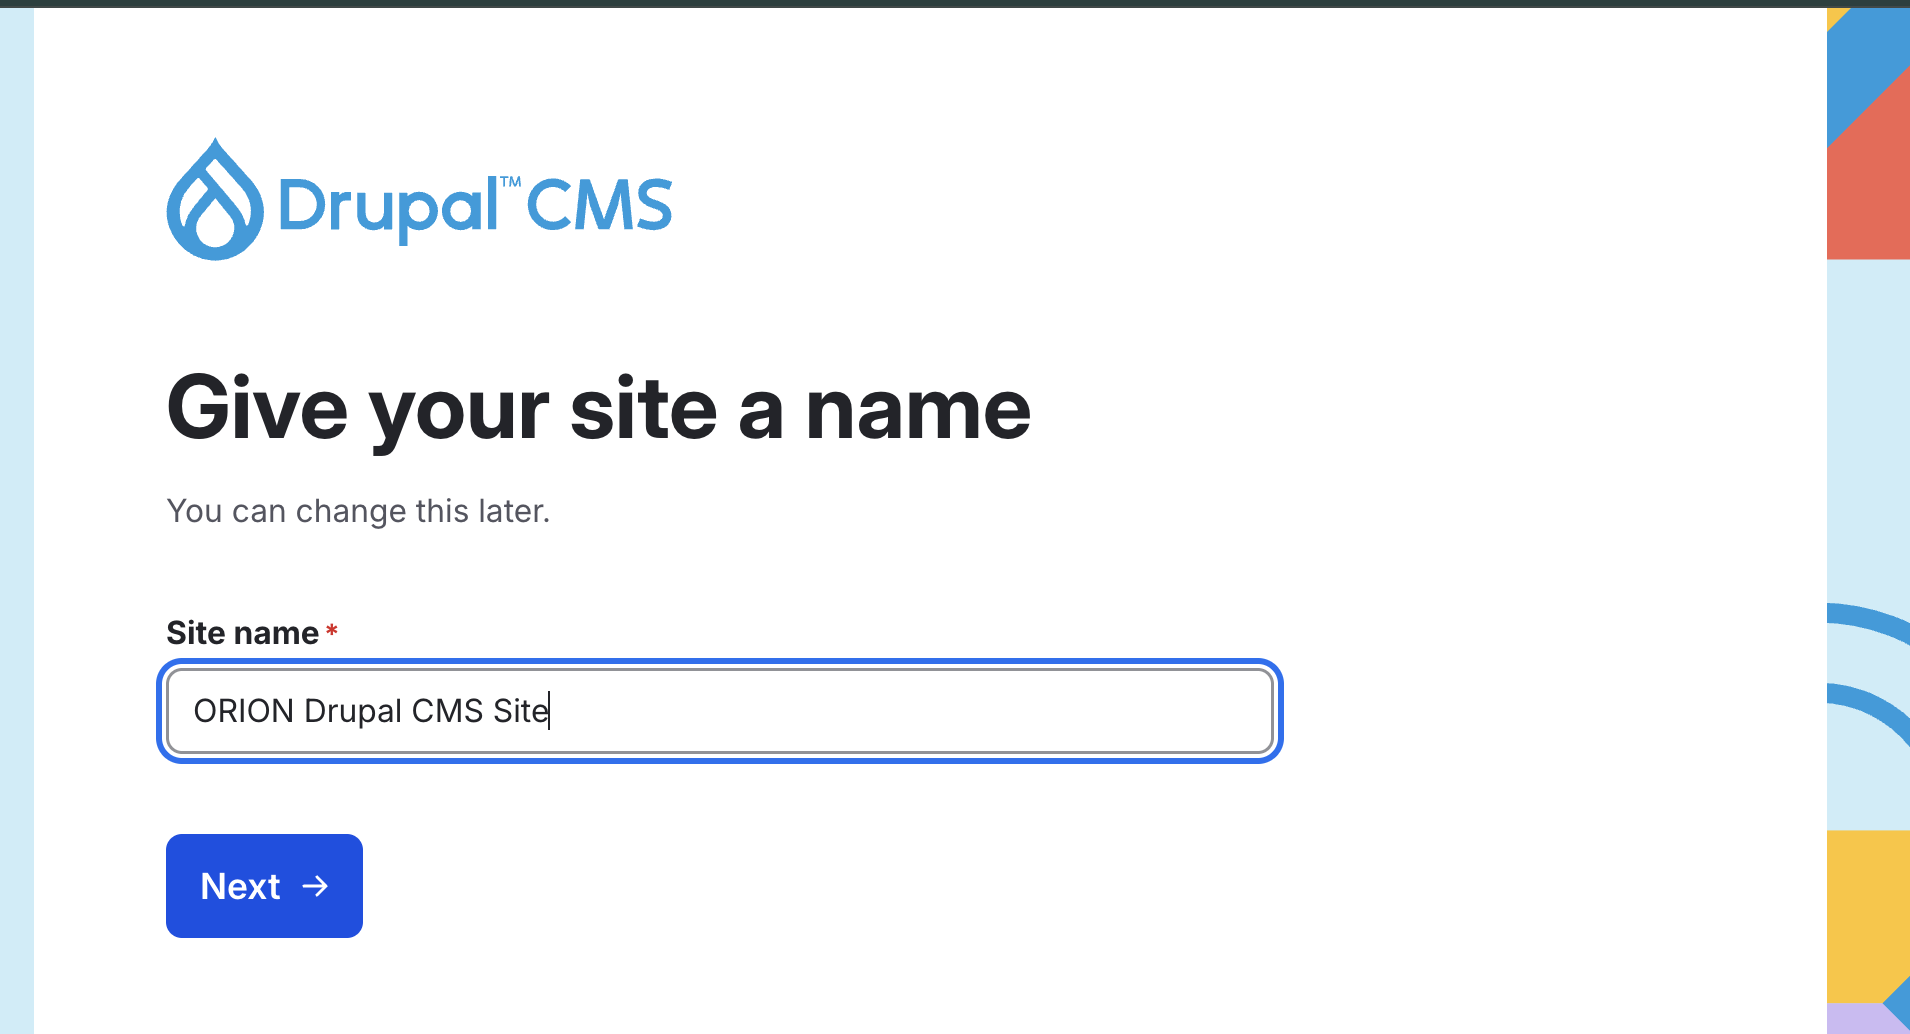
You can choose any site type you prefer and then hit "Next", which should land you one the following screen where you can choose your site name (you can change that afterwards at any time):
In the next screen, you can set your new Drupal account credentials:
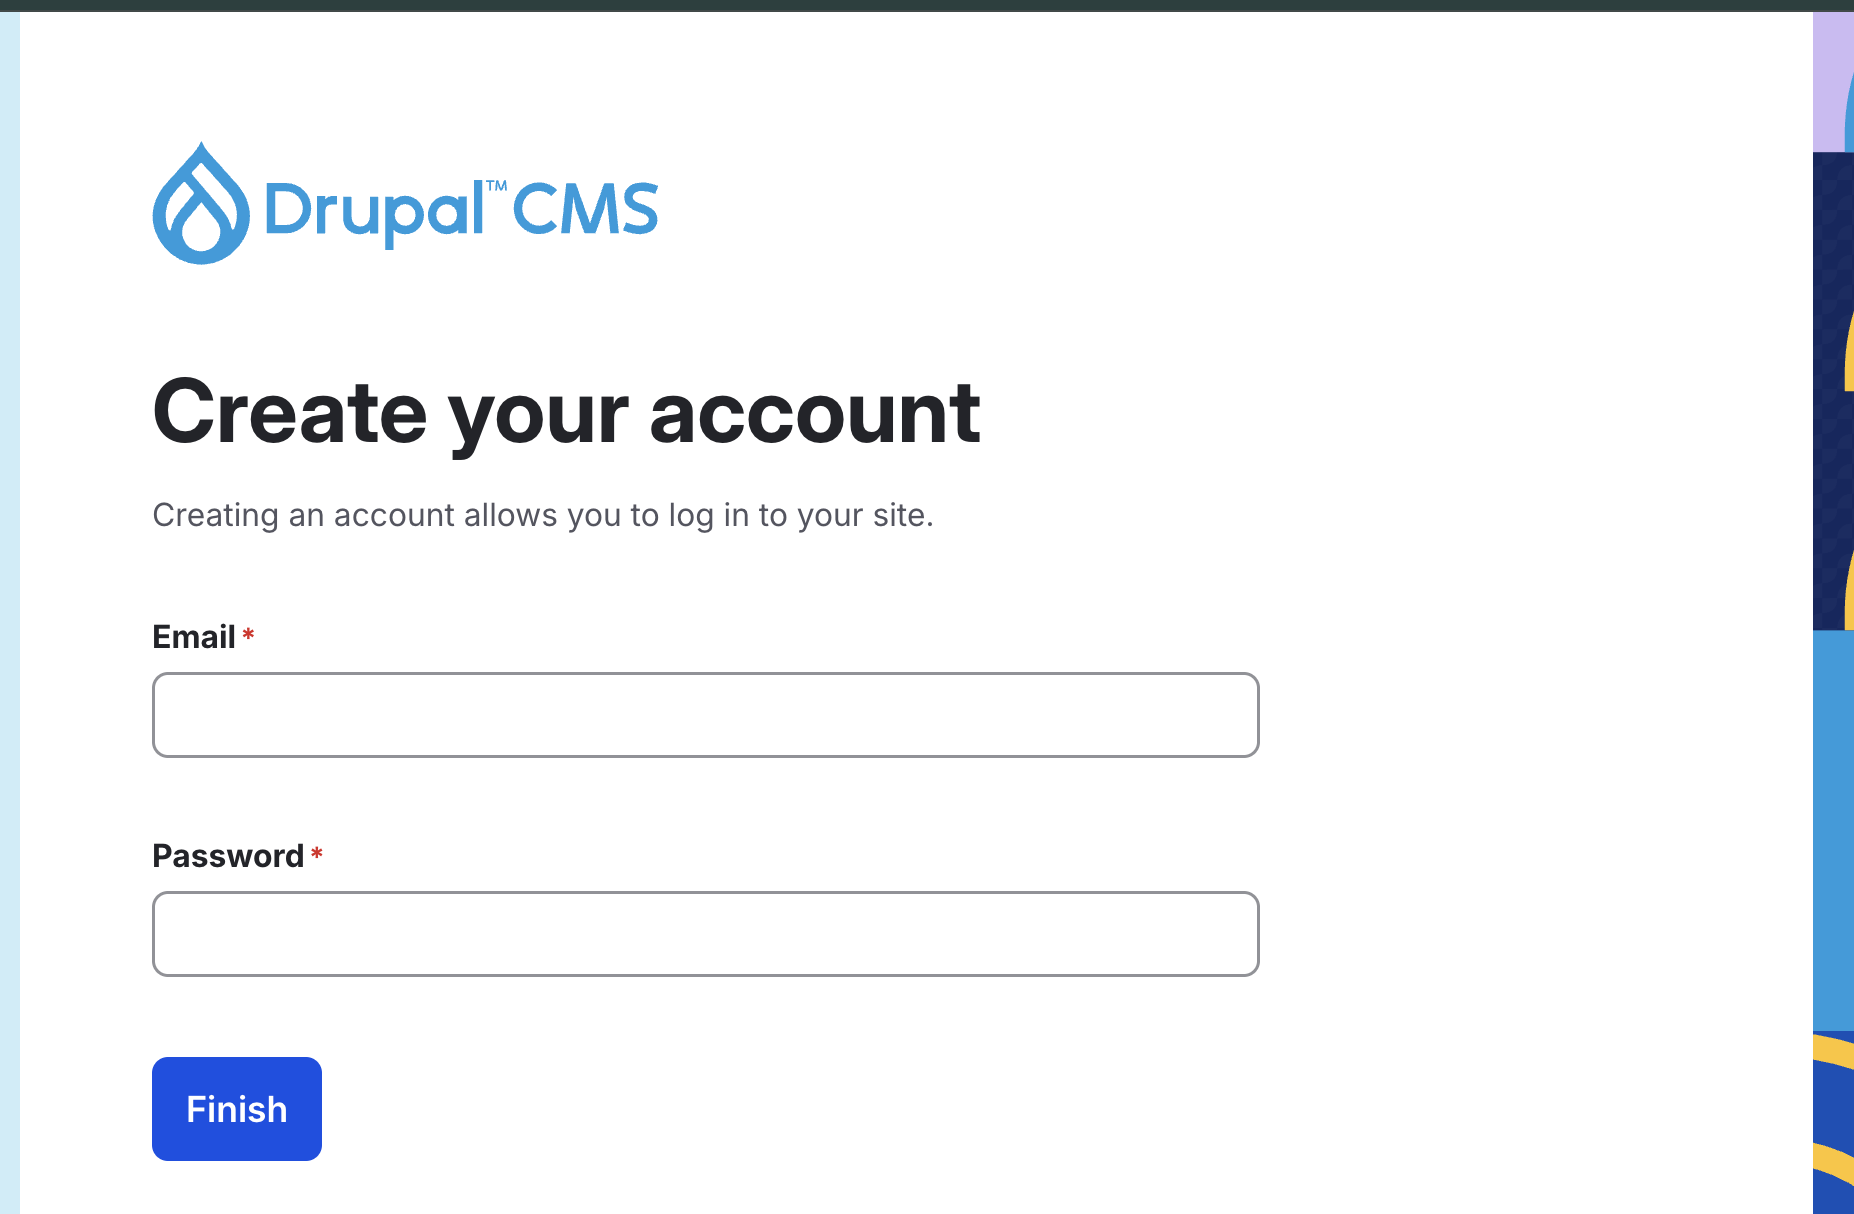
Clicking on "Finish" will then start the final profile installation process. All the modules, themes and assets required will be brought in during this process:
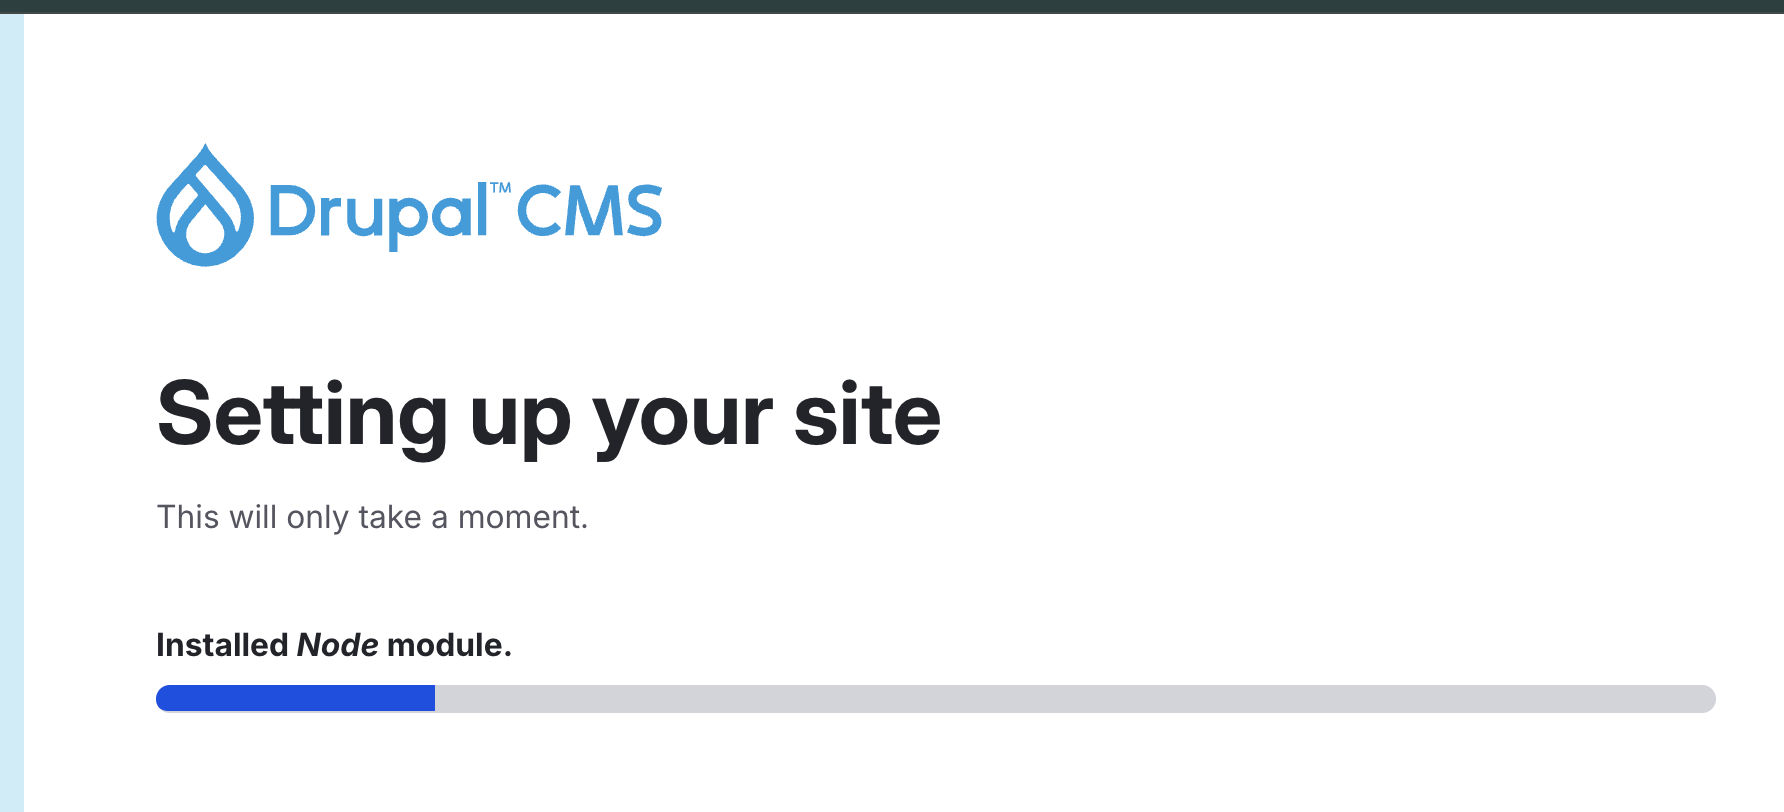
This process might take a while. When it's complete, you'll be redirected to your new Drupal website's dashboard:

Congratulations! You've now managed to install the new Drupal 11 CMS locally on your computer; a real powerhouse of features ready for you on your screen to explore!
Conclusion
From here, you can create new content, add fields with rich media features, administer and experiment with the most modern Drupal CMS ever made.
Let us know what you think of our Drupal 11 CMS website trial & installation guide, we greatly appreciate any feedback!
Contact us today to discuss how you can take advantage of Drupal CMS for your organisation's benefit, just like other organisations such as Structured Credit Investor (SCI) already did!